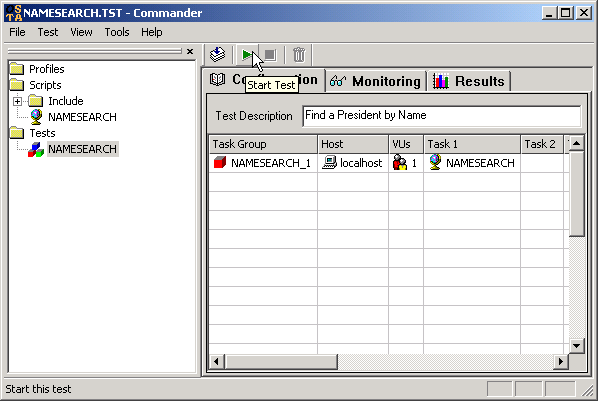
At this stage your Test should be ready to run. To start the Test, simply click on the Start Test icon as shown in the following screenshot:
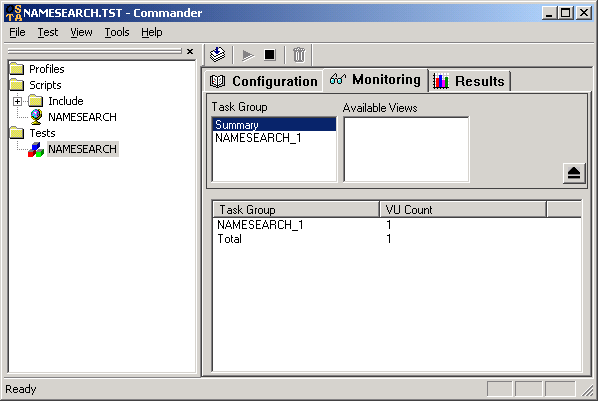
You can keep track of what your Test is doing by clicking on the Monitor tab. By default, this shows a Summary of the number of Virtual Users for each Task Group. This should look something like the screenshot below:
The test should not take long to finish (the same length of time it took you to record it); when it does finish, the items in the Monitor tab will be greyed out.
The results will be stored in a sub-folder of the test that created them, and labeled with the time and date of the test run. You can view the results of the test that you have just run by selecting the Results tab, as shown in this screenshot:
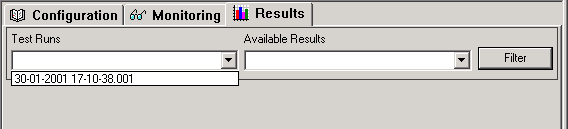
Selecting a Test Run will bring up a list of Available Results. The next section covers Results in more detail. Feel free to experiment with viewing the Results you have just generated, but they will be of little interest because they are of a single user doing exactly as you did in the recording. For some meaningful data analysis you of course need more data; the next step shows you how to simulate more users in order to generate this data.
To increase the amount of data created by your test, you need to edit the test.
Select the Configuration tab of the Test and double-click on the Script in Task 1.
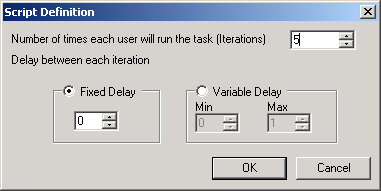
The dialog box that appears is identical the the one which has displayed when the Script was initally added to the Test. If you increase the Iterations to 5 and click OK, you will simulate each virtual Web user running your script from beginning to end five times.
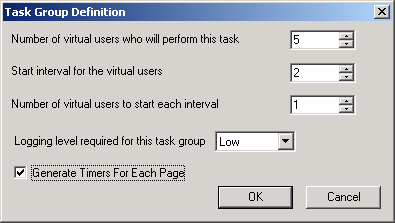
To increase the number of Virtual Users, double-click on the cell VUs column of the Test. The dialog which appears allows you to define the following values:
In this test, we will have five Virtual Users and start them at intervals. This technique allows you to create a ramp-up period in a load test, or to track bottlenecks from your generated Results in a stress test. This example uses a Start Interval of 2 seconds. Because the VU/Interval is set to 1, a single simulated user will be introduced to the test every 2 seconds.
The Task Group Definition dialog should look like the screenshot below:
When you have clicked OK, you can run the test again. This time the test should take longer to complete, so you can take the chance to look at some of the features available for Monitoring your test in real time.
With this larger test completed, your next task is to look into the facilities for viewing the results produced. This is covered in the next section.