The next step towards being able to test your server is to create a test.
To create a new test, use the menu item:
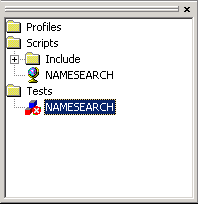
Type in the name of your test, this example uses "NAMESEARCH", and press return.
The Repository View should now look like this screenshot:
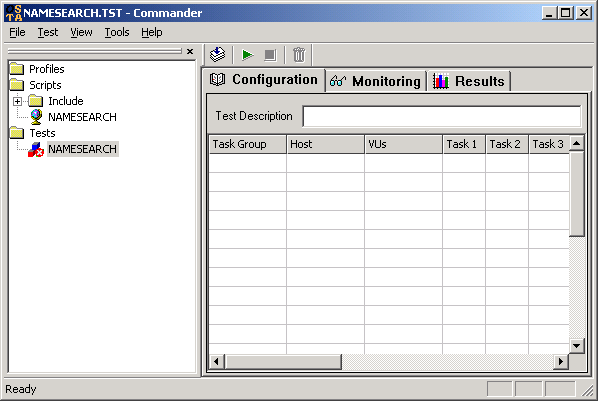
To define the contents of the Test, double-click on the Test icon in the Repository View. The Test definition grid will appear, as show in the dialog below:
The next step is to add the script you recorded earlier to the test. To do this, select the script from the Repository view and drag it onto task 1 of the test grid. The Script Definition dialog will be displayed.
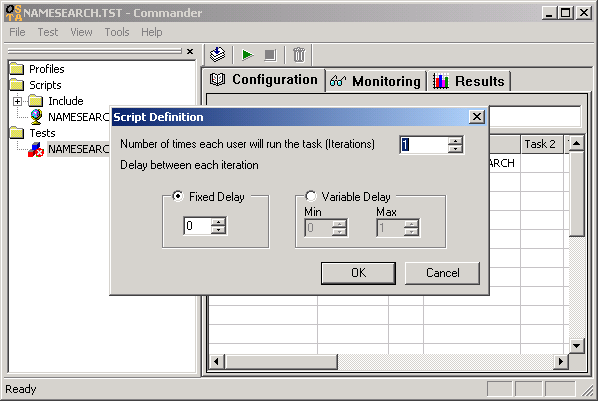
This dialog allows you to define the following values:
To start with, we will keep the default settings for this example. These should be for a single virtual user running the Script only once, as shown above.
At this stage your Test should be ready to run. This is described on the next page.