Your first step towards testing with OpenSTA is to create an OpenSTA project. To do this, you use the menu item:
When you select this menu item, a dialog box prompts you for a project name. The following example uses the name "GSG", but you are free to choose any name you want.
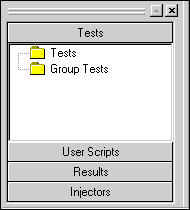
With a newly created project, the Tree View pane in TestCommander should look similar to this screenshot:
The project is empty, and the test folders have no contents.
The next step towards being able to test your server is to create an OpenSTA test. A test is created through a set of wizard-style dialogs. To start the wizard, you can:
Many other functions of TestCommander can also be accessed in several ways. This guide normally only mentions one of the possibilities, but this does not mean it is the only method of reaching the function.
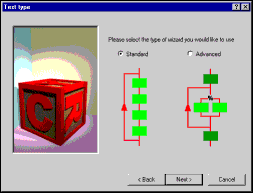
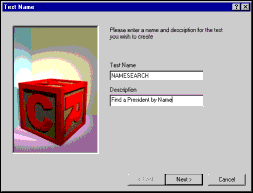
The first two dialogs of the Test Wizard find out the type of test you want to set up, and allow you to give your test a name and description. The dialogs shown below would create a standard test named "NAMESEARCH":
The next step is to add an OpenSTA script to the test. Click the Add button on the User Scripts dialog, and enter your script name as prompted. In the example shown below, we give the script the same name as the test:
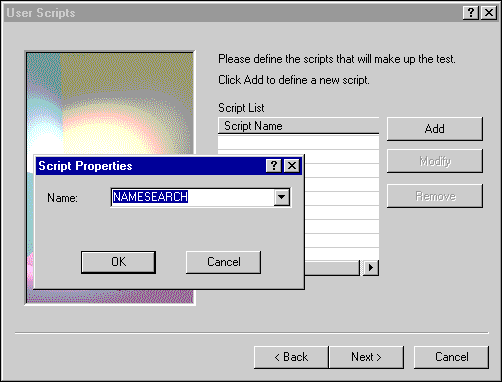
Only a single script will be required for this example test, so when this has been added you can click the Next button to proceed to the Test Definition dialog.
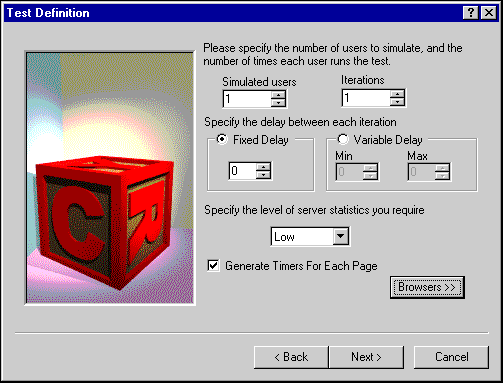
This dialog allows you to define the following values:
To start with, we will keep the default settings for this example. These should be for a single virtual user running the Script only once, as shown above.
The final Test Wizard dialog is a Summary. This shows the values and settings of the test you have just created, so that you can check them before clicking the Finish button to complete the creation of the test.
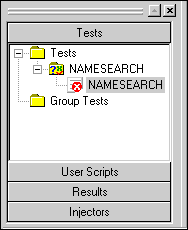
When you have created the test within your project, fully expanding the Tests folder in the TestCommander Tree View pane should show your named test; within this, you should see the script you specified. It should look something like this screenshot:
The script you specified should be named, but its icon will include a red circle with a cross on it, to show that the script has not yet been defined. Defining the script behavior by recording the use of a Web site is your next step. This is described on the next page.