When OpenSTA has been successfully installed, the first noticeable change to your system will be the OpenSTA Name Server.
This server needs to be running for any proper use of the OpenSTA
environment. It is normally started when you log in, and this fact
is indicated by an icon in your desktop System Tray like this:
![]() .
If you do not see this icon, the server can be started from the
Start menu using:
.
If you do not see this icon, the server can be started from the
Start menu using:
To configure your system so that the OpenSTA Name Server starts every time you log in, please see your system administrator.
With the OpenSTA Name Server running, the OpenSTA control center application TestCommander can be started from the Start menu using:
Once started, your TestCommander should look something like the screenshot below:
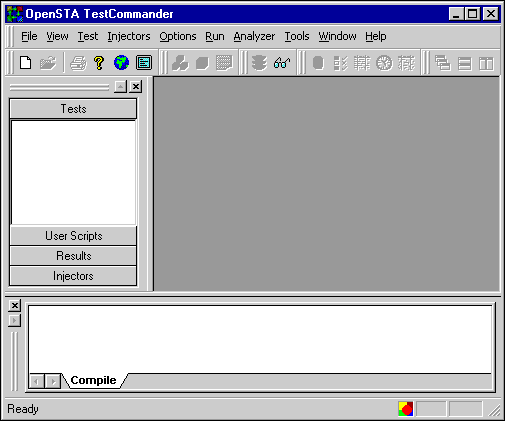
From the above screenshot, you can see that TestCommander is normally viewed as a three-pane application framework in the style of many other popular Windows IDEs.
In the above default configuration, the Tree View pane, the upper left of the three panes, allows navigation and selection of the many aspects of OpenSTA tests and projects. The bottom, full-length pane is the Output window, which contains a layered tab display of the textual output of any commands or functions run by the TestCommander. The rest of the application area is the Workspace, where any other TestCommander subwindows or embedded applications are displayed.